
Introduction: Why I Started Drawing in My 60s (and Why You Can Too)
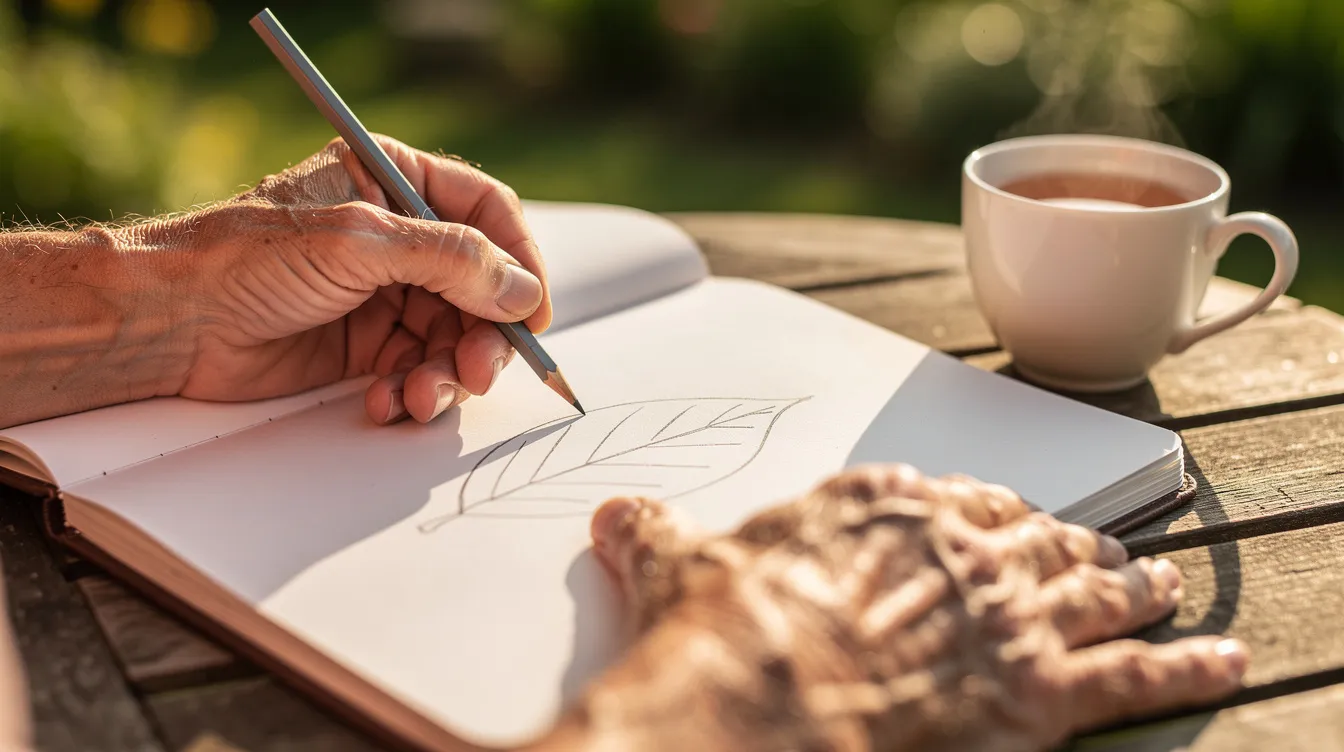
No, it is not too late. Not even close. I am Margaret, a mum of three grown-up kids and a nan to five, and I started drawing seriously after I retired in 2018. Most afternoons you will find me on the back verandah in Brisbane with a cup of tea, a pencil and a sketch book that has seen better days. I am not trained and I do not sell courses or classes. This blog post is simply what I have worked out for myself as a late starter, written for other adults and retirees who want to learn to draw or come back to it after decades away.
You need paper and something to draw with. That is genuinely all it takes to begin. Drawing is a skill that improves with consistent practice, not a gift you either received at birth or missed out on. Adults can learn to draw at any age, and I am living proof that a woman in her sixties can sit down with an HB pencil and a cheap pad and slowly, page by page, start seeing the world differently.
I will be honest: I felt silly for about the first week. My lines wobbled. My teacup looked like it had been through a cyclone. But the quiet was nice, the silliness faded, and something clicked around day five when I stopped worrying about the result and started enjoying the looking. My first sketchbook from early 2019 is still in the cupboard, and I keep it there on purpose.
Here is what this article will give you:
-
Reassurance that it is genuinely not too late, backed by what research now tells us about older brains.
-
Concrete steps for supplies, setup and your first drawing sessions.
-
Realistic expectations about what the early months look and feel like, so you do not give up on a bad Tuesday.
Myths About Learning to Draw as an Adult
For years I told myself drawing was something other people could do. At school I was told I was not the artistic one, that my sister had the talent. That sort of thing sticks. Many of us carry an inner critic that was planted decades ago, and it still pipes up the moment we pick up a pencil.
Here is what I have learned since: adult brains are not set in stone. Modern research shows we keep growing new neural connections well into our seventies and beyond. One study of adults aged 65 to 87 found that after ten lessons and daily practice, their drawing skills improved by a large margin. The brain does not stop learning just because the hair goes grey. Adults often face self-created obstacles when learning to draw, and the biggest one is the belief that the door has already closed.
The myth that artistic talent matters more than time spent practising is stubborn but wrong. Most of the improvement I saw between 2019 and 2023 came from small, regular sessions, not sudden flashes of genius. Adults can learn drawing fundamentals more deliberately than children because we are more patient, we follow step by step instructions better, and we are happier to sit still once we quieten that critic. Talent is less important than practice in drawing. I remind myself of this on every wobbly day.
And please, do not compare your first sketches to polished digital art on social media. Those images come from artists working for years, often with professional tools and training. The first 50 drawings are expected to look bad for any beginner. That is not failure. That is the process.
If you need a role model, think of Grandma Moses, who took up painting seriously in her late seventies and became well known for her folk art. She had little formal training. I am not aiming for gallery walls, but it is reassuring to know that starting late is an old and ordinary story.
-
Myth: Your brain is too old to learn. Reality: Neuroplasticity continues into your seventies and eighties, and structured practice produces measurable gains.
-
Myth: You need natural talent. Reality: Adults can learn drawing fundamentals with patience and dedication, and practice matters far more than any inborn gift.
-
Myth: Your first drawings should look decent. Reality: The first 50 drawings usually look bad for adults, and that is completely normal.
What I Wish Someone Had Told Me in My First 3 Months
In early 2019 I swung between excitement and wanting to throw my sketchbook in the bin. One afternoon I would draw a lemon that almost looked like a lemon, and the next day everything I put down looked worse than the day before. Nobody warned me about this, so I am warning you now.
Things nobody tells you:
-
Your first 50 drawings are meant to look clumsy. Mistakes are a normal part of the drawing process, and they are essential for learning and improving.
-
Shaky hand eye coordination is normal at the start. It settles with repetition, which helps develop muscle memory in drawing.
-
Plateaus will come. You will feel stuck for a week or two, then suddenly a sketch will come out better than anything you have done before. Progress is not a straight line; it moves in little stair steps.
-
Keep every page. I never tore anything out. Looking back at week one from week four was the best encouragement I had.
-
The biggest hurdle for adult beginners is the gap between seeing and executing. You know what a cup looks like, but your hand has not learned to put that knowledge on paper yet. That gap closes with practice, not with wishing.
I have to own up to a mistake I made early on: I spent weeks reading about pencil brands and paper weights instead of practising. Adults overthink tools and underestimate plain time with pencil and paper. If I could go back, I would tell myself to stop reading reviews and start drawing gum leaves. Speaking of gum leaves, I drew them repeatedly in 2020 and 2021, and the difference between the early wobbly ones and the later, more confident ones taught me that adults can learn drawing fundamentals faster than kids when they actually sit down and do the work.
Choosing Simple, Friendly Supplies to Get Started
You can learn how to draw with a single HB pencil and cheap A4 copy paper. I nearly bought far too much in my first month. Shops are full of tempting sets, but the right gear will not make you a better artist at the start. Basic supplies include pencils, erasers and paper, and everything else can wait. For a fuller list, see my guide to beginner art supplies you need.
Here is my honest starter list:
-
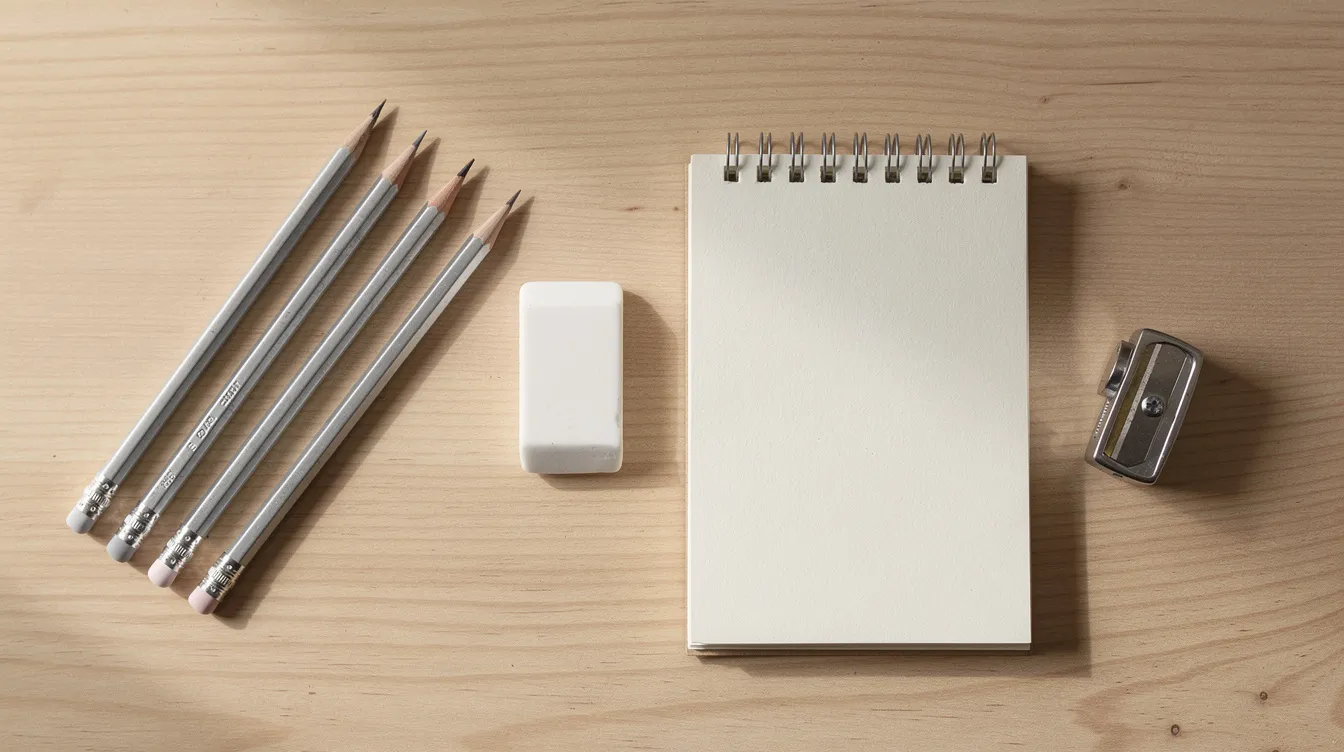
Two or three graphite pencils: an HB for lighter lines, a 2B for general drawing, and a 4B for darker shading. Softer pencils make marks with less pressure, which is easier on the hand.
-
A good white plastic eraser. Cheap ones smudge; a decent one lifts graphite cleanly.
-
A sharpener that does not splinter the wood.
-
An inexpensive sketchpad you are not afraid to mess up. A good sketchbook provides portability for practice, but do not spend a lot on your first one.
Traditional drawing paper comes in various types and textures. I suggest smooth cartridge paper around 120 gsm to start. It is gentle on joints, takes erasing well, and does not fight you. Very rough surfaces need more effort.
Colored pencils and charcoal are fun to experiment with later. I now use a small box of 24 student-grade colored pencils for relaxed colour sketches of plants and teacups, but I waited about a year before adding colour. There is no rush.
For my drawing corner on the verandah, I use a stable chair, a cushion behind my lower back, a clipboard propped against the table edge for a gentle slope, and everything stored in one box so I can start in under a minute. The less fuss there is to set up, the more often you will actually sit down.
Drawing with Older Eyes and Hands
I wear reading glasses and have mild arthritis in my fingers. For the first few sessions I thought these would stop me. They did not, but I had to adjust my habits rather than push through.
-
Good light matters more than anything else. Position a lamp to your side or over one shoulder so your drawing hand does not shadow the page. Daylight bulbs help on cloudy Brisbane afternoons.
-
Use darker pencils, a 2B or 4B, so your lines are easier to see. Work at a comfortable scale rather than tiny details.
-
Warm up stiff hands and wrists before you start. I do small circles in the air, wrist rolls and a minute of light scribbles on scrap paper. Quick sketches like these also help improve hand eye coordination.
-
If holding a standard pencil hurts, try rubber pencil grips, slightly thicker mechanical pencils, or even masking tape wrapped around the barrel to fatten it up. Foam tubing from the hardware shop works well too.
-
Take short breaks every 20 to 30 minutes. I look up, stretch and walk to the garden between drawings. I always come back with fresh eyes. Drawing is not a test of endurance.
-
Keep a glass of water handy, sit with your feet flat on the floor, and stop when your body says so.
Learning to See: Basic Shapes and Simple Objects
The biggest change in my drawing was learning to draw what I see, not what I know. A cup is not just an oval with a handle. It is a particular set of shapes with particular shadows and a rim that catches the light. Once I understood that, everything shifted.
Drawing skills begin with seeing the world as basic shapes: circles, squares, rectangles, triangles and cylinders. Start with basic shapes like circles and triangles, and you will find them hiding inside every object on your kitchen bench. Drawing plants can simplify learning about shapes because leaves and stems are gentle curves without the pressure of getting a likeness right. If you are wondering about what to draw first, the next article goes through it in more detail.
Here is a warm up I did before each session: in one corner of the page I drew a row of straight line segments, then curved lines, then a strip of shading from light to dark. On the next page I would draw a mug as a cylinder plus a curved handle, all in light, loose lines. These exercises build the drawing fundamentals that everything else rests on.
In 2020 I drew kitchen objects over and over: teaspoons, lemons, teapots and pot plants. Real life objects teach more than copying cartoons because you have to look. Drawing from life trains your brain to see light, shadow and proportions. Focus on negative space to improve drawing accuracy: instead of drawing the handle, draw the shape of the air inside the handle, and the handle appears on its own. Betty Edwards writes about this idea in Drawing on the Right Side of the Brain, and I found it very useful, though I take it as one approach among many, not the final word.
If you are staring at a blank page wondering what counts as a good starting subject, try these:
-
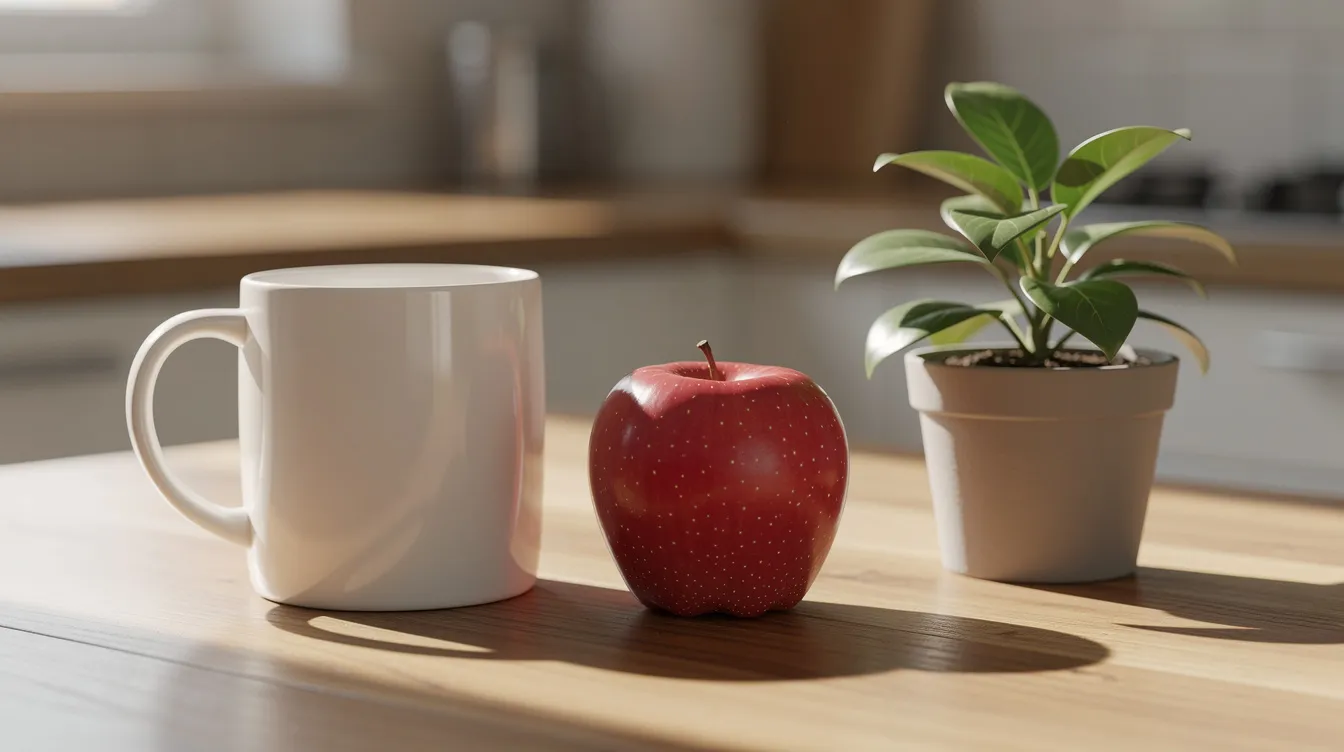
A mug or cup, looking for the oval of the rim and the cylinder of the body.
-
A single piece of fruit, focusing on where the shadow falls.
-
A small plant pot, drawing the simple shapes of leaves from different angles.
-
An apple cut in half, so you can see the inside shapes too.
Step by Step: How One Drawing Session Might Go
Here is a 30 to 40 minute session you can copy this week. I will walk you through it the way I do it most afternoons.
I sit down, put on my glasses, prop my clipboard at a slight angle and pick a single object. Today it is a banana from the fruit bowl. I start with five minutes of warm ups on scrap paper: circles, lines, a few gesture drawing strokes to loosen my wrist. Nothing precious, just getting the hand moving.
Next I spend about ten minutes blocking in the basic shapes of the banana with very light lines. I am not trying to draw a banana yet. I am drawing the long curved shape, the angles at each end, the way it sits on the table. I keep my lines loose and gentle.
Then I refine for about ten minutes, checking edges and proportions, and gradually replacing the scratchy construction lines with one clearer contour. I look at the banana more than I look at my page. Observation is where the real learning process happens.
For the final ten to fifteen minutes I add a few simple shadows with the side of my pencil to add depth and suggest the curve of the fruit. Then I stop, before I overwork it. Knowing when to put the pencil down is a skill in itself.
-
Minutes 1 to 5: Warm ups on scrap paper, circles, lines and loose scribbles.
-
Minutes 5 to 15: Block in simple shapes with light lines. No detail yet.
-
Minutes 15 to 25: Refine the shapes, replace scratchy marks with a single contour.
-
Minutes 25 to 40: Add details and a few shadows, then stop.
Building a Gentle Drawing Routine in Retirement
I settled into drawing most afternoons around 3 pm, after a short walk and a cup of tea. Choosing a short, fixed time makes it easy to say yes, and most days I carry on longer without trying. Drawing requires consistent practice to improve skills, but consistency does not mean hours of labour. Daily drawing routines help build confidence and skill far more reliably than the occasional marathon.
Three 20-minute sessions a week is a fine place to start, building up when it feels enjoyable, not forced. Fifteen minutes daily beats two hours weekly for practice drawing. Short, frequent sessions suit tired hands and older concentration.
Practical reminders help. I leave my sketch book and pencil on the dining table. Some people add “sketch for 10 minutes” to their paper calendar, or tie it to an existing habit like the afternoon news. Whatever works. Date every page so you can flip back in six months and see your progress in drawing fundamentals.
-
Daily tea-time sketch: Draw whatever is nearest, mug, biscuit tin, salt shaker, for 15 minutes with your cuppa.
-
Sunday morning verandah sketch: Sit outside with your breakfast and draw a plant or a view. No pressure.
-
Midweek library session: Borrow a drawing book, sit in the quiet section and practice drawing from its exercises.
-
Winter indoor still life: Set up a small group of objects on the kitchen table and draw them from different angles across the week.
From Cups to People: When and How to Start Drawing Faces
Many adults secretly want to draw people, especially grandchildren. My grandchildren sometimes sit beside me with their own paper, and that is what made me want to try portraits. But faces are unforgiving, so be patient. Drawing faces can be a fun beginner subject, but I would not start there.
I felt ready to try in late 2020, after about a year of drawing basic shapes, pots and simple plants. The time on simpler objects gave me enough confidence with proportion and shading that a head did not feel impossible.
A beginner approach that worked for me: draw a head oval, add a centre line down the middle, then an eye line roughly halfway down. Proportion matters more than likeness at this stage. You can break the head into rough thirds with light guidelines to place the eyes, nose and mouth, and it does not need to look like anyone in particular. The idea is to learn the structure of the human body and face before chasing resemblance. Alternate portrait practice with easier subjects so frustration does not derail your whole drawing journey. Some beginners find that anime style drawings motivate them to practice drawing consistently, and that is perfectly fine too. There is no single correct style.
-
Stage 1: Simple head shapes and ovals with a centre line.
-
Stage 2: Feature placement using guidelines, still loose and light.
-
Stage 3: Very simple shading to suggest the curve of a cheek or the hollow of an eye.
Trying Digital Drawing Without Overwhelm
I did not touch digital drawing until my early seventies, when my son lent me his older tablet in 2023. It felt strange at first, like writing on glass. You absolutely do not need digital tools to learn how to draw. Pencil and paper build the same underlying drawing skills, and for most beginners I think they are better to start with.
If you are curious, start with one uncomplicated drawing app, a basic stylus and a simple task like tracing a photo of your teacup to learn the interface. Features like undo, zoom and layers are helpful, but do not let constant undo replace confident lines. My rule is that at least half of my weekly practice stays on paper, with occasional digital sketches of flowers and verandah scenes.
Good reasons to try digital drawing:
-
Undo lets you experiment without wasting paper.
-
Zoom helps if small details are hard to see.
-
No mess, no sharpening, easy to share with family.
Good reasons to stay with pencil for now:
-
You learn to commit to each line, which builds confidence.
-
Fewer settings and menus to distract from actually drawing.
-
The feel of pencil on paper teaches pressure and texture that a screen cannot.
Experimenting with Colored Pencils, Watercolour and Other Mediums
I added colored pencils in 2020 and a cheap pan of watercolours in 2021, after a solid year of graphite. Learning values and shapes in graphite first makes colour less overwhelming because you already know where the light and dark go.
Colored pencils suit retirees beautifully. They are quiet, tidy, produce no fumes and work perfectly at the kitchen table. Do not buy a huge expensive set before you know how often you will use them. A small set of 12 or 24 is plenty to start. Artistic expression through drawing fosters creativity, and colour is one more way to explore it when you feel ready.
First projects to try:
-
A bowl of cherries in colored pencil, focusing on the shine and shadow on each one.
-
A single gum leaf in watercolour over light pencil lines.
-
A simple seaside scene from a holiday photo, keeping it loose and not worrying about perfection.
Finding Lessons and Communities That Suit Older Beginners
I am not selling courses, and I never will. I use a mixture of library books, occasional online classes and free resources to keep learning new techniques. The local Brisbane library has shelves of drawing books focused on drawing fundamentals, basic shapes and simple still lifes. Look for titles that say “beginner” or “absolute beginner” and flip through to check that the pace feels gentle.
When choosing an online course, look for clear demonstrations, slow explanations and visible reference images. Avoid “speedpaint” videos that gloss over the learning process. A professional artist painting a portrait in four minutes is impressive to watch, but it teaches a beginner almost nothing. Some people enjoy platforms that offer structured classes, and that is fine, but there are also many generous free videos that cover the basics well.
In-person options are worth considering too. Community centre sketch groups, retirement village art meetups, and library workshops offer gentle peer feedback that encourages more than strict critique from art school. You do not need to have been to art school. It is also perfectly fine to learn quietly at home without posting anything online. Not everyone wants an audience, and that is a valid learning style.
When deciding whether a resource suits you, test these four things:
-
Pace: Does the instructor pause and explain, or rush through?
-
Clarity: Can you see what they are doing and hear the reasoning behind it?
-
Subject matter: Are the projects simple enough to attempt this week?
-
Kindness: Does the tone make you feel welcome, or judged?
Keeping Motivation Through Plateaus and Wobbly Days
Around mid-2020 I felt stuck. I was convinced I was not improving. My sketches looked the same week after week. Then, months later, I pulled out my 2019 drawings and realised that my “bad” current work was noticeably better than my best work from a year earlier. Adults often read a plateau as proof of no talent, when it is simply a normal part of building drawing skills. Adults often compare their work to others’ advanced pieces, which makes the plateau feel worse than it is.
Bad days are like a rainy afternoon. I put the pencil down, make tea and try again tomorrow. Concrete ideas for stuck days: draw different subjects, change pencil softness, or limit yourself to five-minute sketches to make things feel lighter. Switch to something you enjoy, like a new skill you have been meaning to try, or cool things you spot around the house.
The fear of the blank page was my hardest part. What helped: scribble in a corner first, practice on cheap paper or the back of old printouts, set a ten-minute timer, or draw the same object three times. The third attempt is nearly always better. Mistakes are part of the drawing process, and every professional artist you admire has a pile of failed pages you never see.
Drawing reduces stress and promotes relaxation in ways I did not expect. Learning to draw improves focus and concentration. It has also enhanced my self-esteem and confidence as I watch my artwork slowly improve. Drawing helps me connect with my inner world on quiet afternoons when the house is still. I notice shadows on the fence, the curve of a leaf, light on water. That deeper understanding of the world around me is worth more than any perfect sketch.
Keep a folder of dated early drawings and revisit it once a year. Celebrate small wins: a straight line horizon, a convincing apple, a portrait that looks vaguely like the person. Do not forget how far you have come.
-
Flip back: Compare this month’s pages to six months ago.
-
Change the subject: Draw something new. A shoe, a hat, a garden tool.
-
Go small: Five-minute gesture drawing sketches with no expectation.
-
Be kind: Talk to yourself the way you would talk to a grandchild learning to ride a bike.
-
Remember why: You started because you love art, not because you needed another source of stress.
Pulling It All Together: Your Next 90 Days of Drawing
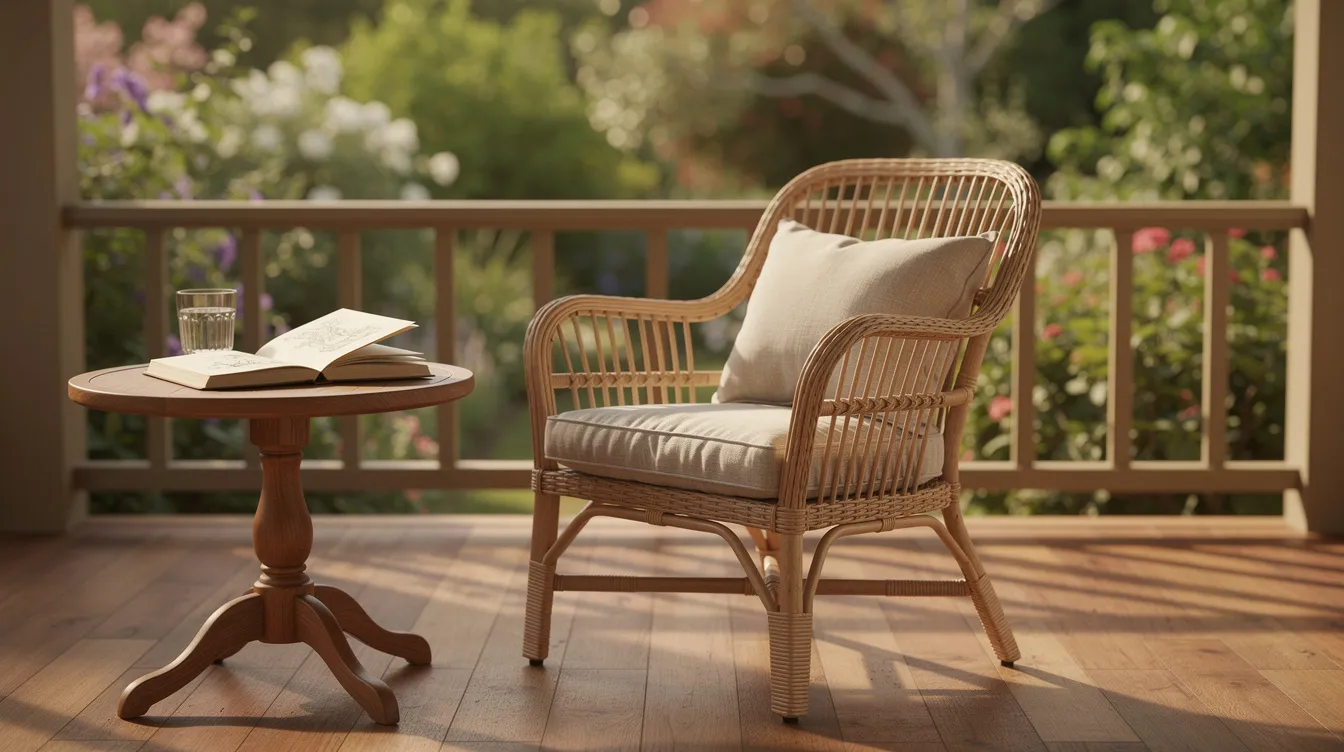
I am writing this at my usual spot on the verandah, with a 4B pencil and a half-finished drawing of a potplant. The fan is on, the tea is going cold, and I am content. I do not draw to impress anyone. I draw because I enjoy the afternoons and I look at the world more closely than I ever did before retirement. You need no goal beyond enjoying yourself, and your life experience gives you a patience and steadiness that younger learners often lack. It is a fantastic way to spend the quiet hours.
If you want a gentle plan to get started, here is one. It is a suggestion, not homework, and your health and energy will decide how much gets done.
-
Month 1: Focus on basic shapes and simple objects. Draw cups, fruit, spoons and pot plants. Practice drawing lines, curves and shading scales. Master the warm ups until they feel like second nature.
-
Month 2: Add light and shadow to your drawings to add depth. Try a few colored pencils on familiar subjects. Experiment with drawing the same object from different angles.
-
Month 3: Attempt simple faces or draw people from photos. If you are curious, try one digital drawing session. Look back at Month 1 and see how far you have come.
Think of drawing as a lifelong companion in retirement, not a race. There is no exam, no deadline, no audience unless you want one. You can decide each afternoon what to draw, or whether to draw at all.
-
You do not need talent. You need a pencil, some paper and a willingness to make ugly pages for a while.
-
Every artist you admire started with bad drawings. Every single one.
-
The joy is in the looking, the noticing, the quiet concentration, and the slow discovery that your hand is learning what your eye already sees.
-
It is never too late. Pick up a pencil today and draw whatever is nearest. Date the page. That is Day One.
Appendix: Quick Reference Tips for Adult Beginners
Here is a checklist you can print or copy into the front of your notebook and revisit whenever you need a reminder during your drawing journey.
-
Warm up with lines and circles on scrap paper before every session.
-
Use basic shapes to break down every object before adding detail.
-
Draw regularly, even if only for fifteen minutes. Consistency beats marathon sessions.
-
Keep your tools simple. Two or three pencils, an eraser, paper. That is enough.
-
Set up good light so your hand does not shadow the page.
-
Date every page so you can track your progress over months.
-
Experiment slowly. Add new techniques or mediums one at a time.
-
Accept bad drawings. They are proof you are practising, not proof you lack ability.
-
Use digital drawing only if it genuinely helps or interests you.
-
Celebrate every tiny improvement: a rounder circle, a steadier line, a shadow that looks right.
-
Keep early sketches. They are your best source of inspiration and encouragement.
-
Find your own perspective on what drawing means to you, and let that be enough.
FAQ
How long does it take to learn to draw as an adult?
It depends on what you mean by learning. Most adult learners see a clear difference, such as steadier lines and better shapes, within a few weeks of regular practice. A deeper understanding of proportion, tone and observation builds over months. Confidence with more complex subjects takes longer, and I am still working on it after several years. Do not forget that the knowledge you gain along the way is its own reward.
Do I need natural talent?
I do not think so. Looking carefully, practising often and being kind to yourself about the results are habits, not gifts. Artistic talent as people imagine it, some magical ability you are born with, matters far less than showing up with a pencil and an open mind. Your artistic abilities grow with use, just like any other skill.
How often should I practise?
Short and regular beats long and rare. Twenty minutes most days did more for me than the occasional long afternoon. Find a rhythm that does not feel like a chore and that fits your life.
What should I draw first?
Simple things around the house: a mug, a piece of fruit, a plant pot. They hold still, cost nothing and teach shape, edges and shadow. There is no need to start with anything complicated, and there is real fun in discovering how much there is to see in an ordinary lemon.
Is it too late if I am well past retirement age?
No. A pencil and paper do not care how old you are. If you can hold a pencil and sit comfortably, you can begin whenever you like. Research on people aged 65 to 87 shows real, measurable improvement with practice, and I have seen it in my own sketchbooks. The only thing standing between you and your first drawing is picking up the pencil.