
I picked up a pencil properly about four years ago, after a life spent raising three children and then helping with five grandchildren. Once I stopped rushing around, I found I had Tuesday afternoons, Wednesday mornings, long stretches of nothing in particular. A friend suggested drawing. I thought she was joking.
My first purchase was a big tin of 48 pencils from a discount shop. It looked like excellent value. I used about three of them. The rest sat in the tin looking decorative while the cores snapped in my sharpener or left gritty scratches across the page. That tin taught me something useful: starting a creative journey does not require expensive studio equipment, but it does require a bit of thought about what you actually pick up and use.
This article is for beginner artists and returners over 60 who want a plain, concrete list of basic art supplies that really get used. Not a fantasy studio. Not a gift guide for someone else’s teenager. Just the things I wish I had known to buy, and the things I wish I had left on the shelf. I will mention drawing pencils, a sketch pad, colored pencils, acrylic paints, mixed media, and alcohol markers, but I frame them as options, not obligations. The online shopping lists I found when I started were overwhelming, full of links and affiliate codes and thirty-seven “must haves.” This one is not that.
For readers who worry it is too late, I had that same little voice for years. It is not too late. A small number of reliable, budget friendly art supplies are sufficient for beginners, and choosing one medium simplifies the learning process more than any expensive kit can. If that worry is still nagging at you, my notes on learning to draw as an adult go into it in more detail. For a broader take on starting later in life, read my piece on starting to draw later in life.
I will give you concrete product types and rough prices in 2026, but I sell nothing and have no sponsors. What follows is what I have tried on my back verandah in Brisbane, written down as plainly as I can.
Start Here: The Bare-Minimum Beginner Art Kit
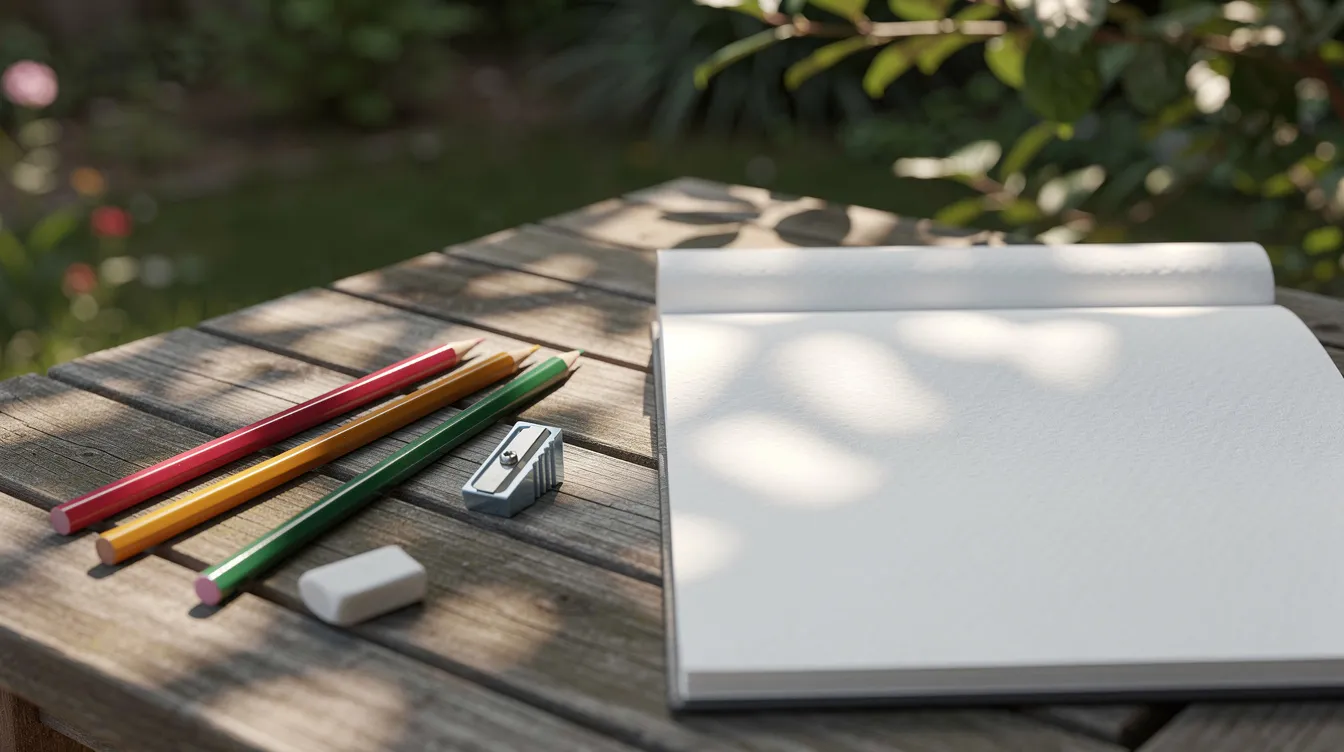
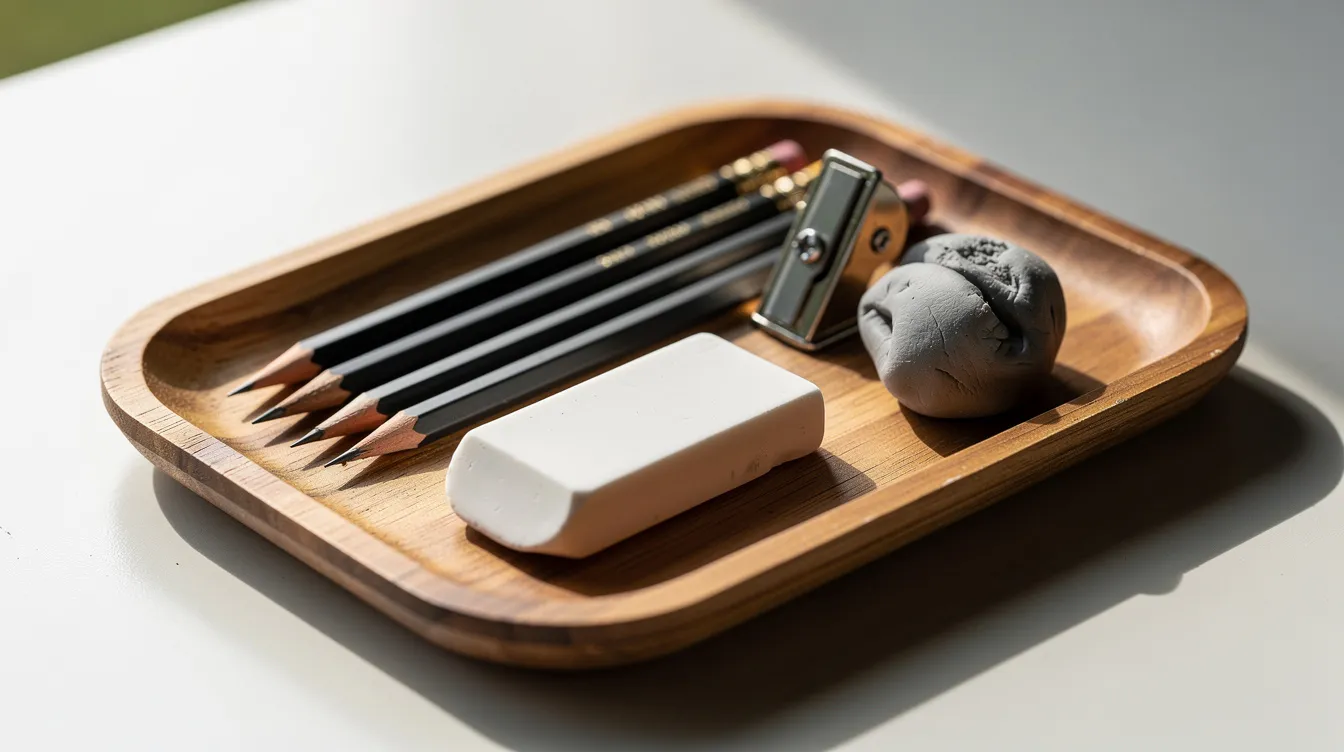
A pencil is essential for beginners to start drawing. Everything else can wait. Here is what I would buy if I were starting again tomorrow:
-
HB pencil for writing-weight lines and light sketching
-
2B pencil for softer shading and darker marks
-
White plastic eraser (vinyl or hi-polymer block)
-
Kneaded eraser for gentle lifting
-
Handheld metal sharpener (double-hole if you can find one)
-
A4 or 7 x 10 inch sketch pad, around 90 gsm, medium tooth
-
Small set of 12 to 24 colored pencils (student grade), when you are ready for colour
My own first year of afternoons used only two or three pencils, a pad, an eraser and a sharpener. The cost was roughly the price of a takeaway lunch. If the budget is tight, buy the first four items and stop. No fancy case, no easel, no blending stumps.
I recommend a sketch pad over loose paper for supplies for beginners because a pad keeps your work together, sits on a lap or a small table, and does not blow across the verandah. A sketchbook is crucial for practicing drawing techniques, and it gives you a record of how your drawing skills grow over the months.
This tiny kit is enough for several months of drawing mugs, pot plants and family photos. If you have your kit in hand and want easy starting subjects, try a cup, a piece of fruit, or your own hand. Do not wait for the perfect moment. Put the pencil on the paper.
Understanding Student vs Professional Art Supplies
Student-grade supplies have lower pigment and higher fillers. That means the colours are a bit less vivid and the consistency a bit less smooth, but the price is much friendlier. For home practice, for filling a sketchbook on the verandah, student-grade materials perform well for beginners while being reasonably priced.
Professional-grade supplies are more pigmented and easier to work with. They have a low filler-to-pigment ratio, better lightfastness, and smoother performance. Professional-grade watercolors have a high lightfast rating, and high-quality watercolors are bright and transparent without cloudiness. Lightfastness is crucial for professional-grade art supplies because it means a coloured pencil drawing hung in a sunny Brisbane room in 2026 should still look similar in 2031.
Most retirees can happily start with student-grade drawing pencils, colored pencils and acrylic paints. Upgrade only if you feel limited. My view: buy a named student-grade brand from an art shop or a good stationery aisle. The thing to avoid is very cheap bulk bags, because mine had gritty cores that scratched the paper and snapped in the sharpener. A bit more money on a known name saves frustration.
Drawing Pencils and Erasers: The Easiest Place to Begin
Graphite and charcoal are forgiving and low-cost options for training hand-eye coordination, and traditional pencils are where most people feel most at home. Drawing builds the hand-eye coordination needed for every other medium, so time spent here is never wasted. If you are unsure what pencil drawing to try first, I have set out what pencil drawing to try first in a separate piece.
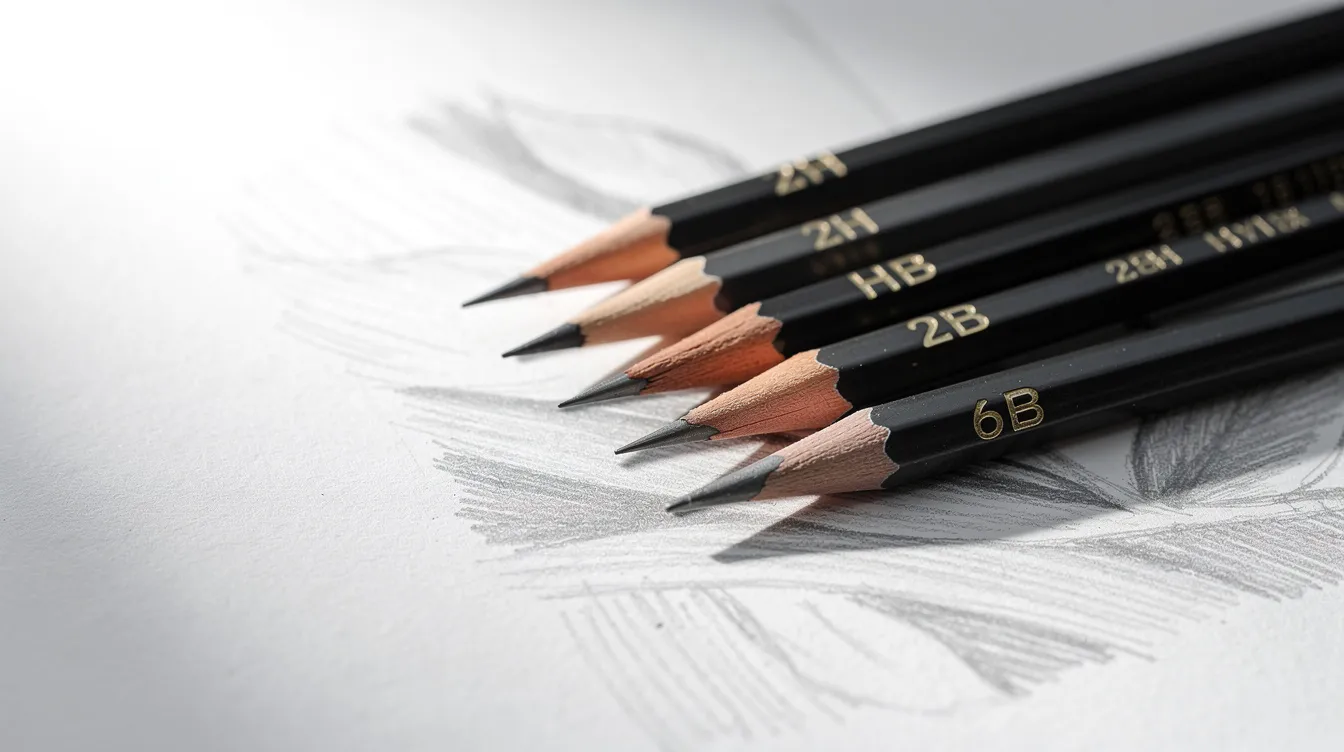
The grades run from about 4H (hard, pale, fine line) through HB and F in the middle, then up to 6B or beyond (soft, dark, broad). Using a range of graphite pencil hardnesses helps in practicing light and dark values. The mixture of graphite and clay in the core determines the grade: more clay makes a harder pencil, more graphite makes a softer one. If you are curious about how the grading scale came about, the Wikipedia article on pencils gives a short history.
My own trio is HB for light first lines while I work out where shapes go, 2B for most of the drawing, and 4B for the darkest parts, like the shadow under a teacup. The 2H and a 6B came after a few months, for faint construction lines and very deep darks. A set of 2H, HB, 2B and 4B is enough for the first year.
Now, erasers. A white vinyl block eraser handles big clean-ups. A kneaded eraser can be shaped to lift highlights without tearing paper, which makes it a drawing tool, not just a correction tool. If I could keep only one it would be the kneaded. A small stick or mono-style eraser handles tiny details. There are other erasers on the market, but these three cover everything I have needed. Wikipedia’s page on erasers gives a short explanation of how different types work, if you want the background.
For comfort with older hands: triangular or cushioned pencil grips make a real difference if your joints ache. Avoid very thin mechanical pencils at first, because they can demand a tight grip and fine twisting. A standard wood barrel pencil, or one with a soft grip added, is gentler.
Choosing a Sketch Pad and Other Papers
Paper matters more than most beginners expect, especially with older eyes that notice glare and texture. Very bright white paper can be harsh, and a soft white or cream surface may feel gentler on a long afternoon.
I recommend a sketch pad around A4 or 7 x 10 inches with medium-tooth paper of about 90 to 100 gsm. A slightly toothy, non-glossy surface gives graphite some grip for smooth shading. I like A4 because it fits on my lap and on the small table out the back. Regular drawing paper is about 60 lbs thick, which is fine for pencil practice. A mixed media sketchbook typically has 90 to 110 lbs paper, which handles more erasing and light washes. Watercolor paper is usually around 140 lbs thick and is made for wet work. Cotton paper is more absorbent than wood pulp paper, so it suits watercolor better, but it costs more.
Small sketchbooks can be as small as 3.5 x 5.5 inches, handy for a handbag, though I personally find the larger sizes more comfortable for my eyes and hands. Quality sketchbooks typically have 90 to 110 lbs paper weight, which means they can take coloured pencil and light ink without buckling.
A sketchbook is ideal for capturing ideas and practicing art skills. But here is my experience: I was scared of “wasting” good paper. I bought a lovely heavy sketchbook and barely touched it, because every page felt too precious. Buy paper you are not afraid to ruin. Regular printer paper is free from the office and fine for scribbly warm-ups in the early weeks. You can use regular paper for loose practice, then move to proper drawing paper for longer drawings. The one place not to skimp is on your main pad: cheap brushes and paints can be used, but not cheap paper. Smooth paper works for fine line detail, while a bit of tooth helps with shading and blending.
Colored Pencils: Quiet Colour Without the Mess
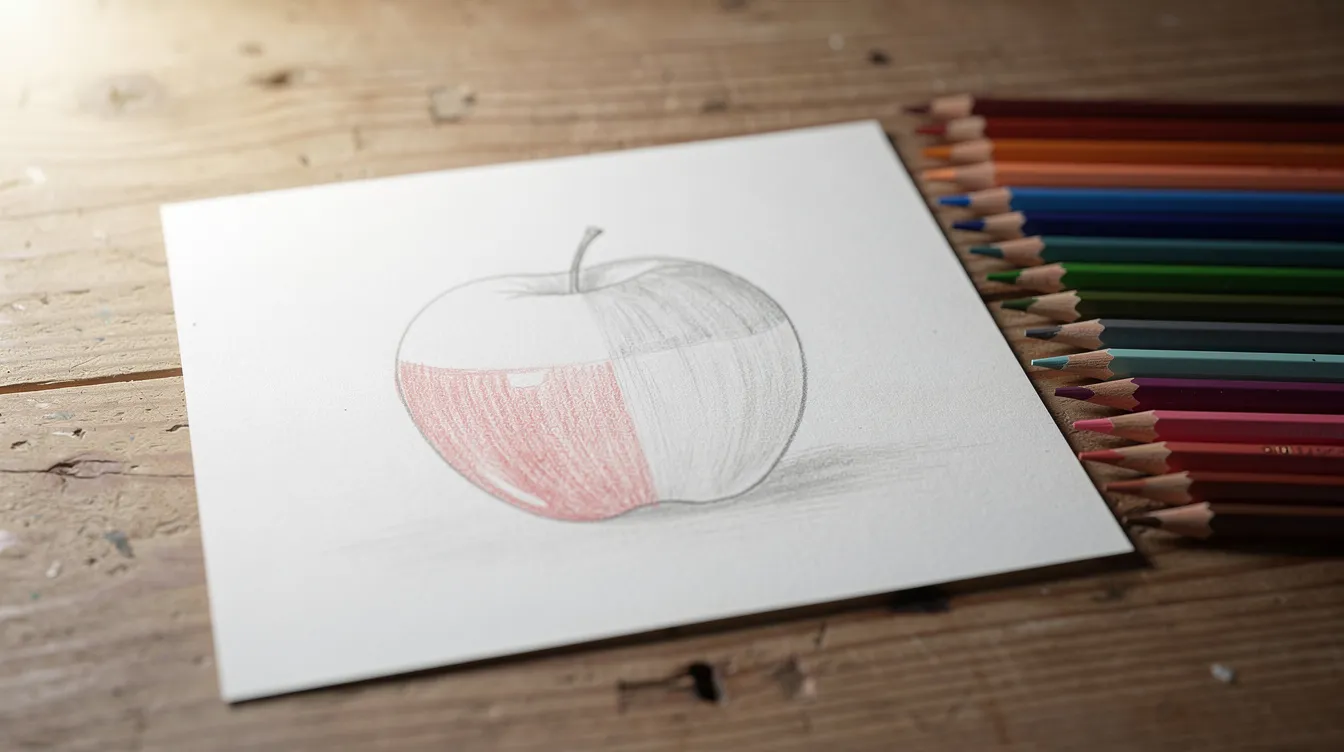
Colored pencils provide control and are easy to use, which makes them a natural next step after graphite. No water, little mess, easy to pause and resume. I would learn graphite first and add colour later, one new material at a time, because that keeps the learning curve manageable.
A modest set of 24 or 36 is better than a giant 120-set with many colors you will never touch. Learning layering and pressure matters more than having every shade. Colored pencils are excellent for practicing blending and layering techniques, and they offer much more control than watercolors.
School-type pencils have a harder, less pigmented core. Artist-grade pencils, like those with a soft core, lay down colour more richly. Professional-grade colored pencils have a higher pigment-to-filler ratio, so colours are more vibrant and layers build more smoothly. Wax-based pencils (Prismacolor is a well-known example) give creamy application but can develop a white haze called wax bloom after heavy layering. Oil-based pencils (Polychromos, for instance) have a firmer core, more control, and fewer problems with bloom.
Practical advice: sharpen with a handheld sharpener, use light pressure and multiple layers rather than pressing hard, and expect some wax bloom on very heavy wax-based applications. A gentle buff with a soft cloth usually sorts it.
Fineliner Pens and Gel Pens for Line Drawing
Many beginners enjoy ink because it gives strong, confident lines with no need to erase. The results are clear even with weaker eyesight, and there is something freeing about a mark you cannot take back.
Fineliner pens are pigment ink pens with firm tips in sizes like 0.1 mm (very fine), 0.3 mm and 0.5 mm. They are good for sketching buildings, plants and everyday scenes, and the fine point sizes suit details like leaves and window frames. Gel pens are smoother and more opaque, and their bolder tip sizes are easier on stiff hands because they need less pressure.
I would advise a small set of black fineliner pens plus a few colored gel pens for accents, rather than large themed sets. A fine black pen was something I only added after a few months, for the occasional ink drawing when I wanted a change of style from pencil.
Many fineliners and gel pens are water-resistant, which matters if you decide to add a light watercolor or mixed media wash later. Check the label before you buy.
Alcohol Markers and Other Markers: What to Know Before You Buy
Alcohol markers are different from the water-based markers common in offices. They dry fast, give smooth flat colour, and allow blending between shades. Alcohol markers allow for vibrant colors without mixing, which can be appealing. They are water-based in some formulations and offer vibrant colors that look bold on the page.
The nib types are straightforward: a bullet nib for details, a chisel nib for filling larger areas, and a brush nib as the most flexible and expressive but also the most expensive. For older hands, larger barrels are easier to grip, and caps should come off without too much twisting.
The caution is lightfastness. Most alcohol markers fade significantly in sunlight. Even premium brands can lose colour within months of being displayed in a sunny room. Keep finished marker work out of direct sun or treat it as sketchbook art rather than heirloom pieces.
I would suggest trying a small 12 to 24 colour set before investing in big collections. Markers were not part of my first year, and I would say fill a whole pad with pencil before buying them. There are plenty of other mediums to experiment with first.
Acrylic Paints: When You Want to Work Larger
Acrylic paints are inherently opaque and beginner friendly. They dry fast, clean up with water, and let you paint over mistakes without fuss. Like charcoal and pastels, painting is a different set of habits from drawing, so I would settle into pencil first.
A student-grade set of about 8 to 12 colours is a good place to start. Include primary red, yellow, blue, black, white, and a couple of earth tones like burnt sienna and yellow ochre. A set of 8 tubes of 75 ml in a student brand costs around AUD 29 in 2026, which is modest for the amount of exploration it allows. Heavy body acrylic paints have a thick texture and hold brush marks. More fluid versions flow easily for thin layers. For beginners, start in the middle with something not too runny.
Simple surfaces include canvas boards, canvas pads and heavy mixed media paper. Stretched canvas takes more storage room and costs more, so boards are a practical choice for practice. A small watercolor set teaches color mixing without complicated setups, and watercolors come in either tubes or pans, but that is a topic for another afternoon. Watercolor is a forgiving medium for beginners in its own right, and high-quality watercolors are bright and transparent.
Acrylics clean up with water but will not come out of fabric once dry. Wear an apron and older clothes, and work in a space with decent ventilation.
Brushes, Palettes and Basic Painting Tools
A beginner does not need a giant set of brushes. Three will do:
-
A flat synthetic brush around 1 inch wide for backgrounds and washes
-
A medium round (size 6 to 8) for general shapes
-
A small round (size 2 to 4) for details
Fewer tools mean fewer decisions. Synthetic bristles hold up better with acrylic than natural hair.
For a palette, use a white plastic palette with wells, a plain white dinner plate, or disposable palette paper. Choose what is easiest for sore wrists to clean or discard. A simple palette knife can mix paint and also create textured strokes, especially in mixed media pieces, but it is not essential early on.
Cleaning habits matter: rinse each brush promptly in water, do not leave them standing bristle-down in a jar, and reshape gently after washing. Acrylic dries like plastic, and a forgotten brush is a ruined brush.
Mixed Media: Combining Supplies Without Confusing Yourself
Mixed media simply means using more than one kind of art supply in the same piece. It sounds advanced, but it can be as simple as adding a few coloured pencil details over a watercolor wash, or drawing with fineliner pens and then brushing a light acrylic wash on top.
Here are a few safe, beginner friendly combinations to try:
-
Graphite plus colored pencil
-
Ink plus light watercolor
-
Watercolor base with colored pencil details on top
-
Acrylic undercoat with gel pen highlights
Order matters. Start with thin, watery media like watercolor first, then add thick, opaque media like acrylic or colored pencil. If you use heavy alcohol marker on very thin sketch paper, it will bleed through several pages. Use marker paper or a thick mixed media pad instead.
Encourage yourself to experiment on small pieces of paper rather than large canvases, so mistakes feel cheap and low-pressure. That is the same reason I am glad I stopped treating my paper as precious.
Finishing and Protecting Your Artwork: Matte Finish, Storage and Display
Not all beginner art needs to be “finished,” but some pieces will feel worth protecting. Fixative is more useful once you have drawings you want to keep, and I would not buy it on day one.
A matte finish fixative spray reduces smudging on graphite, charcoal and pastel, and some also help with colored pencil and mixed media work. Use it outdoors or in good ventilation. For acrylic paintings, a matte varnish reduces glare, which many older eyes prefer, while a glossy varnish brings out colour depth. Lightfast products maintain color integrity over time, so consider UV-filter glass if you frame artwork for a sunny wall.
For storage, keep sketchbooks and loose drawings flat in archival sleeves or simple document boxes. For display, inexpensive frames with mats, small tabletop easels, and rotating displays help ensure sunlight does not fade favourites. I swap the drawing on my hallway wall every couple of months so no single piece takes the full force of the Brisbane light.
Comfort, Lighting and Other Quiet Helpers
Older hands, backs and eyes may need as much attention as the supplies themselves. A comfortable setup keeps me drawing longer than any fancy pencil could.
I recommend an adjustable chair with back support and a table where your pad or board can be propped at a slight angle. I sit with my pad on a clipboard, stop to stretch between drawings, and keep a cuppa nearby. A bright but soft desk lamp with a neutral white bulb, around 4000 to 5000K, reduces eye strain on days when the verandah light gets dim. Natural light is best, but it changes, and a good lamp fills the gaps.
Simple aids make a difference: pencil grips, arthritis gloves, larger-barrel pens or gel pens for longer sessions. A small tray or caddy, like my tin of pencils and erasers, means supplies travel from room to verandah in one trip instead of three.
Putting It All Together: Sample Beginner Art Supply Lists
A versatile kit of core drawing and painting materials helps beginners experiment without spending a fortune. Here are three tiers. Start with whichever suits your interest and energy.
Pencil-only kit (around AUD 25 to 35)
-
HB, 2B and 4B graphite pencils
-
White vinyl block eraser
-
Kneaded eraser
-
Handheld metal sharpener
-
A4 sketch pad, 90 gsm, 50 to 100 sheets
Colour without paint kit (add roughly AUD 50 to 80)
-
Everything above, plus
-
24-colour student-grade colored pencil set
-
Two black fineliner pens in different sizes
-
Three gel pens in colours you like
Small painting and mixed media kit (add roughly AUD 50 to 70)
-
Everything above, plus
-
Student-grade acrylic set, 8 tubes of 75 ml
-
Three synthetic brushes: flat 1-inch, round size 6, round size 2
-
White plastic palette or dinner plate
-
Heavier mixed media pad (150 to 160 gsm) or a few canvas boards
And here is my “bought and did not need yet” confession list: blending stumps (a fingertip or folded tissue does the job at first), an easel, fixative spray, and huge sets of anything. Each extra cost felt justified at the time, but most of those items gathered dust for months.
You can begin with the smallest kit and add slowly across 2026 and beyond, so each new thing solves a real problem instead of sitting in a drawer.
Next Steps for Beginner Artists in Retirement
Start modestly, choose basic art supplies you will actually touch, and let your preferences guide future purchases. Spend more time drawing than shopping in the first six months. Fill a whole sketch pad before buying new categories like alcohol markers or large acrylic sets. Ultimately, the exploration of different mediums comes naturally once you have the foundations.
I see my art practice as a gentle, ongoing part of daily life rather than a race to master every medium. Fifteen to thirty minutes of sketching most days, with whatever materials are already on the table, builds skills steadily and quietly. Nature, a kitchen shelf, a pair of reading glasses on the arm of a chair: there is no shortage of subjects in the world, and none of them require an art degree.
The quiet pleasure of watching your own lines improve comes over years, not weeks. It arrives in small moments: a shadow that finally looks right, a curve you drew without thinking, a page you turn back to and think, “I did that.” Any humble HB pencil and a sketch pad can begin that. The rest you can decide as you go.
FAQ
How much should I spend on beginner art supplies?
A good starter kit of three pencils, a pad, a kneaded eraser and a sharpener costs roughly AUD 25 to 35 in 2026. I would rather you spend a little and draw often than spend a lot and feel you must justify the extra cost. Save where you can and put the difference into paper, because you will use more of it than you expect.
Do I need a whole set of pencils from 9H to 9B?
No. HB, 2B and 4B cover almost everything a beginner does. You can add a harder or softer pencil later if you want finer construction lines or deeper darks.
Is a sketchbook better than a drawing pad?
Not necessarily. A sketchbook is portable and tidy, while a pad is often cheaper and larger. Pick whichever you will feel relaxed about messing up. I use both now for different reasons.
Can I just use regular printer paper?
Yes, for practice. It is thin and does not like much erasing, but it is great for warm-up scribbles and trying out shapes. Move to proper drawing paper for longer drawings where you want to build up shading and details.
Should I buy coloured pencils or paints as well?
I would wait. Learning shapes and tones with a plain pencil first makes everything else easier. Drawing builds the hand-eye coordination needed for every other medium, and when you are ready for colour, add one new material at a time so you are not overwhelmed.